


Introduction
In the previous article, we explored running the Selenium-standalone server as a detached process using PM2, a CLI-based manager for daemonizing application processes. Additionally, we created a configuration file to oversee various commands for starting, stopping, and disposing of PM2 processes.
In this article let's dive deeper into exploring the potential of running automation scripts on Docker containers, including a live preview.
Prerequisite
Docker
Before diving into Docker, let's ensure we have it set up properly. Installing Docker on your system is a prerequisite for leveraging its capabilities. Follow the official documentation here to install Docker according to your operating system.
Implementation
Several approaches exist for configuring the necessary Docker images to execute automated scripts. Nonetheless, in this instance, we will employ Docker's convenient compose file provided by the community. The primary aim is to demonstrate Docker's versatility without delving into exhaustive details beyond the scope of this discussion.
Step 1 - Setup Selenium Grid
Let's create a file selenium-grid.yml to define and run a Selenium Grid setup with different browser nodes (Chrome, Edge, Firefox) and a Selenium Hub.
The key components are as below:
version: Specifies the version of the Docker Compose file syntax being used. In this case, it's version 3.services: Defines the services (containers) that compose the application.chrome, edge, firefox:These are services defining browser nodes for Chrome, Edge, and Firefox respectively. Each service is based on a specific Selenium Docker image (selenium/node-chrome,selenium/node-edge,selenium/node-firefox) with a particular version (4.18.1-20240224).selenium-hub: This service defines the Selenium Hub, which manages the distribution of tests across different browser nodes. It uses theselenium/hubDocker image with the same version as the browser nodes.
image: Specifies the Docker image used for each service. Each browser service uses a specific Selenium node image tailored for the respective browser (Chrome, Edge, Firefox), while the Selenium Hub service uses the Selenium Hub image.shm_size: Defines the size of the /dev/shm shared memory space for each container. In this case, it's set to 2 gigabytes (2gb). This can be important for running browsers in containers to avoid certain issues.depends_on: Specifies that each browser node service depends on the Selenium Hub service. This ensures that the Selenium Hub service starts before the browser node services.environment: Sets environment variables for each service.SE_EVENT_BUS_HOST: Specifies the hostname of the event bus. All services useselenium-hubas the event bus host, indicating they communicate with the Selenium Hub.SE_EVENT_BUS_PUBLISH_PORT, SE_EVENT_BUS_SUBSCRIBE_PORT: Defines the ports for publishing and subscribing to events on the event bus. These are set to4442and4443respectively, matching the ports exposed by the Selenium Hub service.
ports: Specifies the ports to expose from the Selenium Hub container to the host machine. In this case, it exposes ports4442,4443, and4444from the container, allowing external connections to the Selenium Hub.
Overall, this configuration sets up a Selenium Grid with multiple browser nodes (Chrome, Edge, Firefox) connected to a central Selenium Hub, allowing for distributed testing across different browsers.
version: "3"
services:
  chrome:
    image: selenium/node-chrome:4.18.1-20240224
    shm_size: 2gb
    depends_on:
      - selenium-hub
    environment:
      - SE_EVENT_BUS_HOST=selenium-hub
      - SE_EVENT_BUS_PUBLISH_PORT=4442
      - SE_EVENT_BUS_SUBSCRIBE_PORT=4443

  edge:
    image: selenium/node-edge:4.18.1-20240224
    shm_size: 2gb
    depends_on:
      - selenium-hub
    environment:
      - SE_EVENT_BUS_HOST=selenium-hub
      - SE_EVENT_BUS_PUBLISH_PORT=4442
      - SE_EVENT_BUS_SUBSCRIBE_PORT=4443

  firefox:
    image: selenium/node-firefox:4.18.1-20240224
    shm_size: 2gb
    depends_on:
      - selenium-hub
    environment:
      - SE_EVENT_BUS_HOST=selenium-hub
      - SE_EVENT_BUS_PUBLISH_PORT=4442
      - SE_EVENT_BUS_SUBSCRIBE_PORT=4443

  selenium-hub:
    image: selenium/hub:4.18.1-20240224
    container_name: selenium-hub
    ports:
      - "4442:4442"
      - "4443:4443"
      - "4444:4444"
Step 2 - Execute
selenium-grid.ymlfile
Next, we'll initiate the containers with command docker-compose -f selenium-grid.yml up -d, it is used to start the services defined in the Docker Compose configuration file named selenium-grid.yml.
Let's break down the components of this command:
docker-compose: This is the Docker Compose command-line tool used to manage multi-container Docker applications. It allows you to define and run multi-container Docker applications using YAML files.-f selenium-grid.yml: This option specifies the path to the Docker Compose file that should be used. In this case, it'sselenium-grid.yml. Using the-fflag allows you to specify a custom file name or path for the Docker Compose configuration file. If this flag is not used, Docker Compose looks for a file nameddocker-compose.ymlby default.up: This is a Docker Compose sub-command that is used to create and start the services defined in the Docker Compose file. It builds, (re)creates, starts, and attaches to containers for a service.-d: This option is used to start the services in detached mode. When Docker Compose runs in detached mode, it starts the services in the background, and you can continue to use the terminal for other commands without being attached to the containers' output.
So, when you run docker-compose -f selenium-grid.yml up -d, Docker Compose reads the selenium-grid.yml file, creates and starts the containers defined in that file, and runs them in the background. This command is typically used to start the Docker containers defined in the Docker Compose file as a background process.
docker-compose -f selenium-grid.yml up -d
To check the status of containers use command docker compose ps, it will list all running containers, providing information such as container ID, image used, status, and more, in our case, there should be 4 container service up and running.
docker compose ps

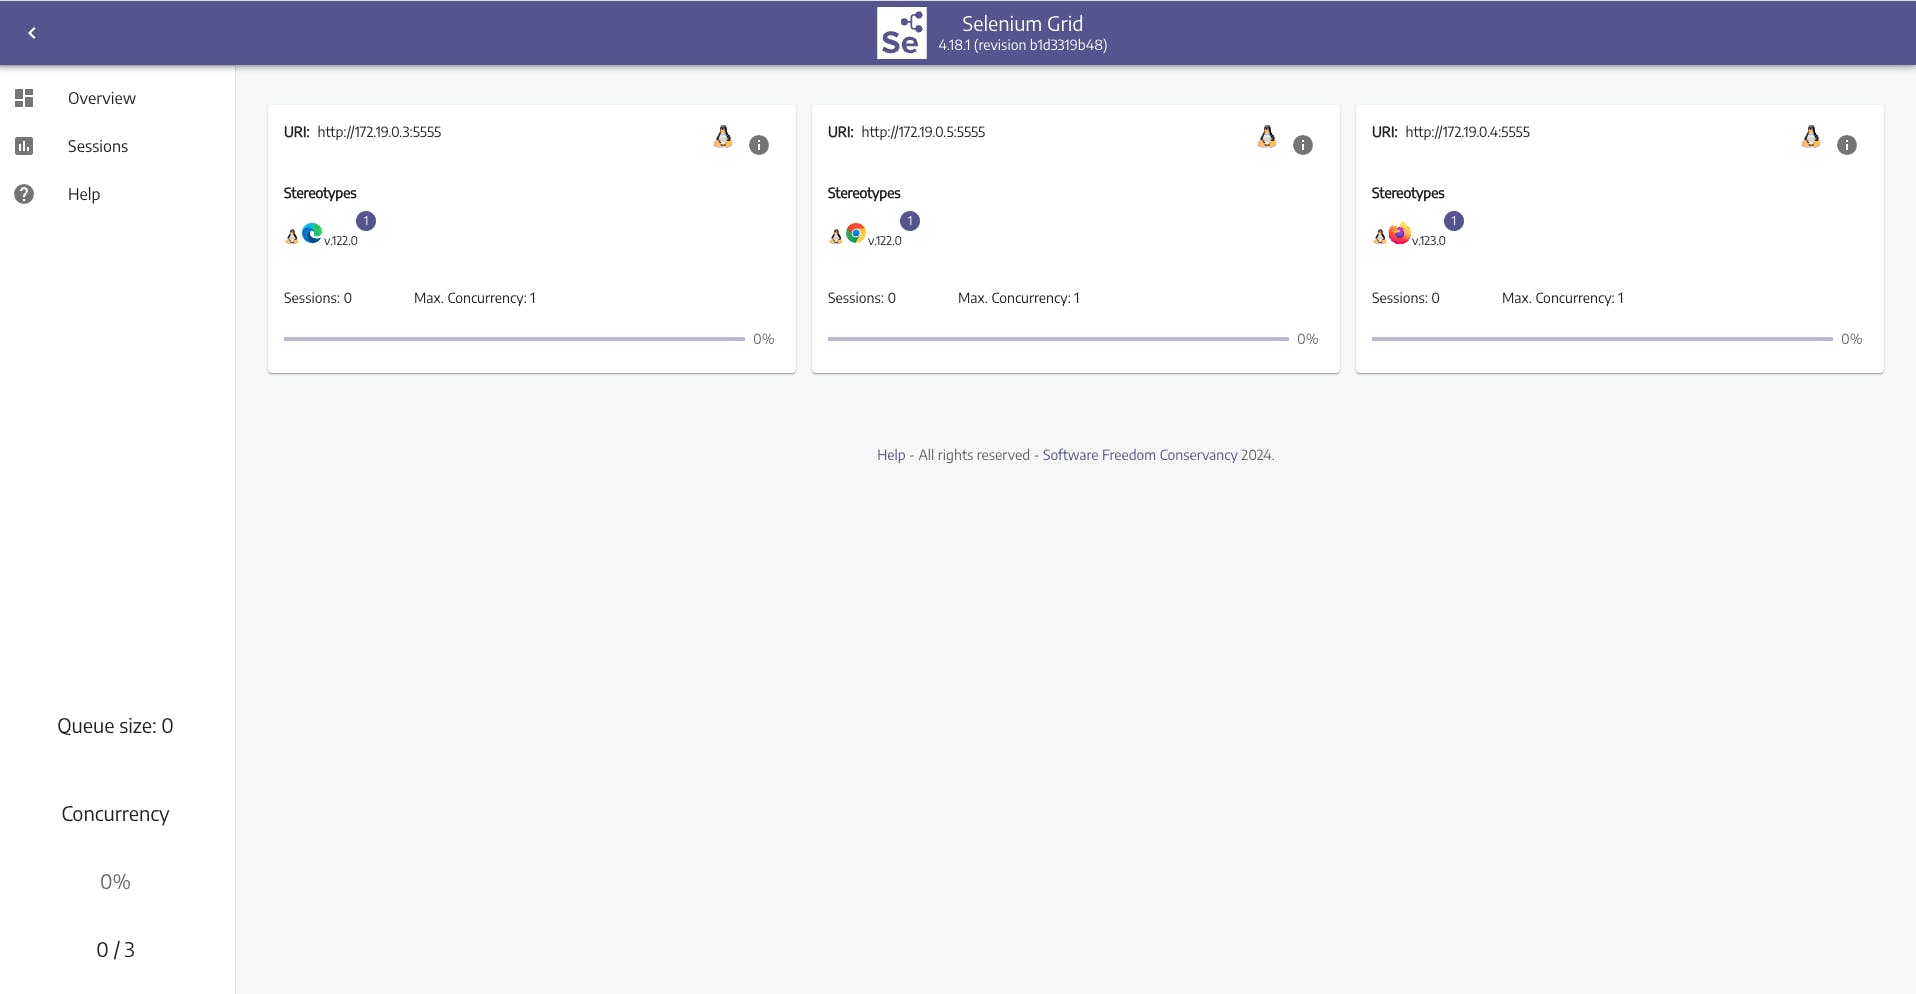
Once you navigate to the URL of the host where Selenium Grid is running, you should be able to access a dashboard displaying one node for each browser, indicating they are up and running.
http://<selenium-grid-host-ipaddress>:4444
Step 3 - Execute Automation Script
Here, we assume that the automation project is already set up. If not, you can download the source code from GitHub or refer to this article if you prefer to set up the project from scratch.
Let's update the host details in the default.json file located under e2e/config. In this step, we'll replace localhost with the "hostname" or IP address of the system where the Docker engine is installed.
Note: By default, the script will execute on Chrome browser as configured in the file. However, you have the flexibility to change it to your preferred browser, such as Firefox or Edge.
{
  "url": "https://the-internet.herokuapp.com/login",
  "username": "tomsmith",
  "password": "SuperSecretPassword!",
  "browser": "chrome",
  "protocol": "http",
  "host": "<hostname> or <ipaddress>",
  "port": 4444
}
Now, we simply execute the following command, which will automatically initiate the scripts to run on the remote Docker containers instead of the local system.
npm test

Live Preview
Thus far, our progress has been smooth; we've successfully executed the automation scripts on Docker containers.
Next, we will explore to watch the automation execution in realtime inside Selenium Grid.
The selenium images are integrated with noVNC, enabling users to visually inspect container activity via their browser. This feature proves useful if you're unable to install a VNC client on your machine.
After initiating the automation execution, return to the Selenium Grid interface. Under the sessions section, you will observe a container running. Click on the video icon associated with the container, and it will launch noVNC, providing a live preview of the ongoing automation execution.

Note: a popup will appear requesting password. The default password is 'secret'.

Conclusion
In summary, this article has demonstrated the efficient use of Docker containers for running automation scripts. We established a Selenium Grid environment with multiple browser nodes connected to a central hub, enabling distributed testing.
The step-by-step implementation covered Docker setup, script execution, and live preview integration using noVNC. By following these procedures, users can streamline automation testing processes, enhancing efficiency and reliability in software development workflows.
The source code is available on GitHub.
If you find this article helpful or have any suggestions, reach out to me on LinkedIn.
Thank you and keep learning!